


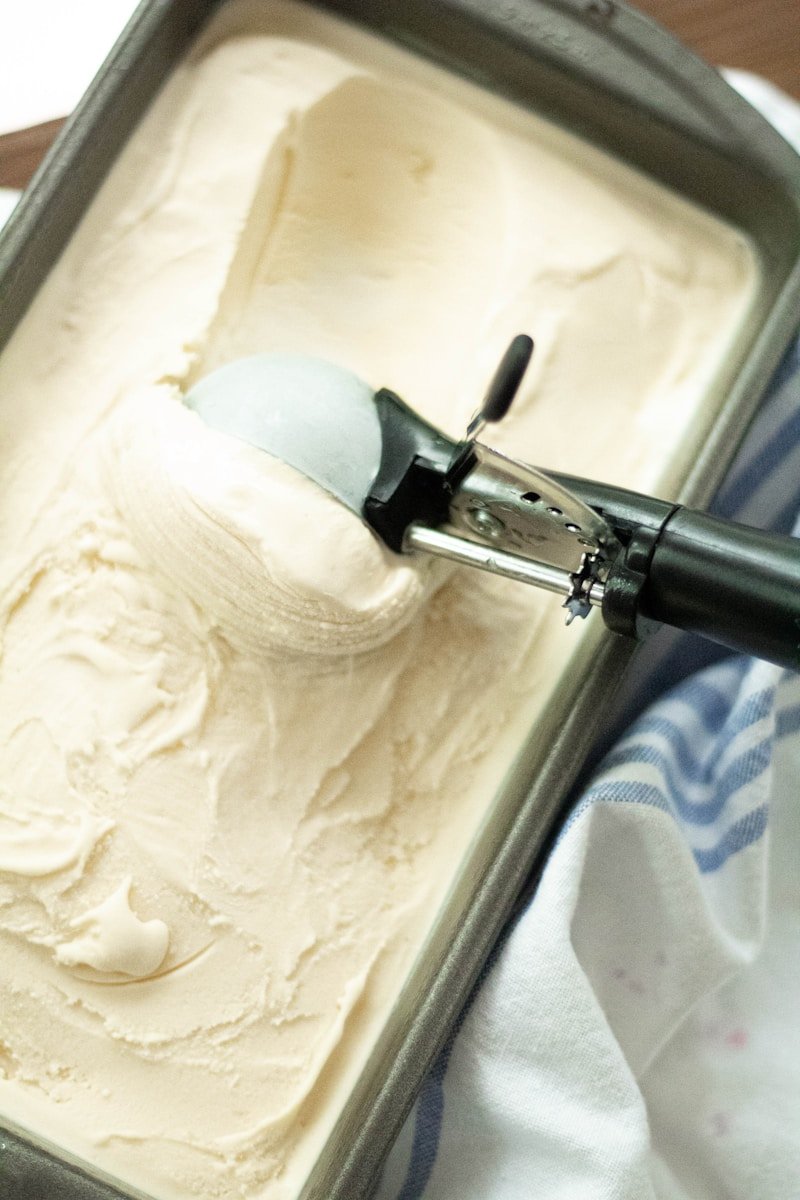
Homemade ice cream sounds complicated with special machines and custard bases. However, you can make 3 ingredient ice cream using a shortcut that requires no expensive equipment. The secret is a classic no-churn formula: whipped cream for air, sweetened condensed milk for smooth texture, and vanilla for flavor.
With this method, anyone can turn a few pantry and fridge staples into a tub of creamy, scoopable ice cream in just a few hours of freezer time. It is perfect for beginners, kids, and busy people who still want a homemade treat without buying extra equipment.
The Basic 3 Ingredient Ice Cream Formula
Most popular no-churn ice cream recipes follow almost the same base ratio:
- 2 cups heavy whipping cream
- 1 can (14 oz / ~300 ml) sweetened condensed milk
- 1–2 teaspoons vanilla extract
Heavy cream is whipped to stiff peaks so it traps air, which makes the ice cream light and scoopable. Sweetened condensed milk brings sweetness and prevents ice crystals, giving a smooth, non-icy texture. Because this method relies on the high fat content of dairy, it is similar to the techniques used by professional pastry chefs to ensure a velvety mouthfeel.
Step-by-Step: No-Churn Vanilla Ice Cream
- Chill the tools
- Place a metal or glass mixing bowl in the fridge or freezer for about 10–15 minutes.
- Cold tools help the cream whip faster and more reliably.
- Whip the heavy cream
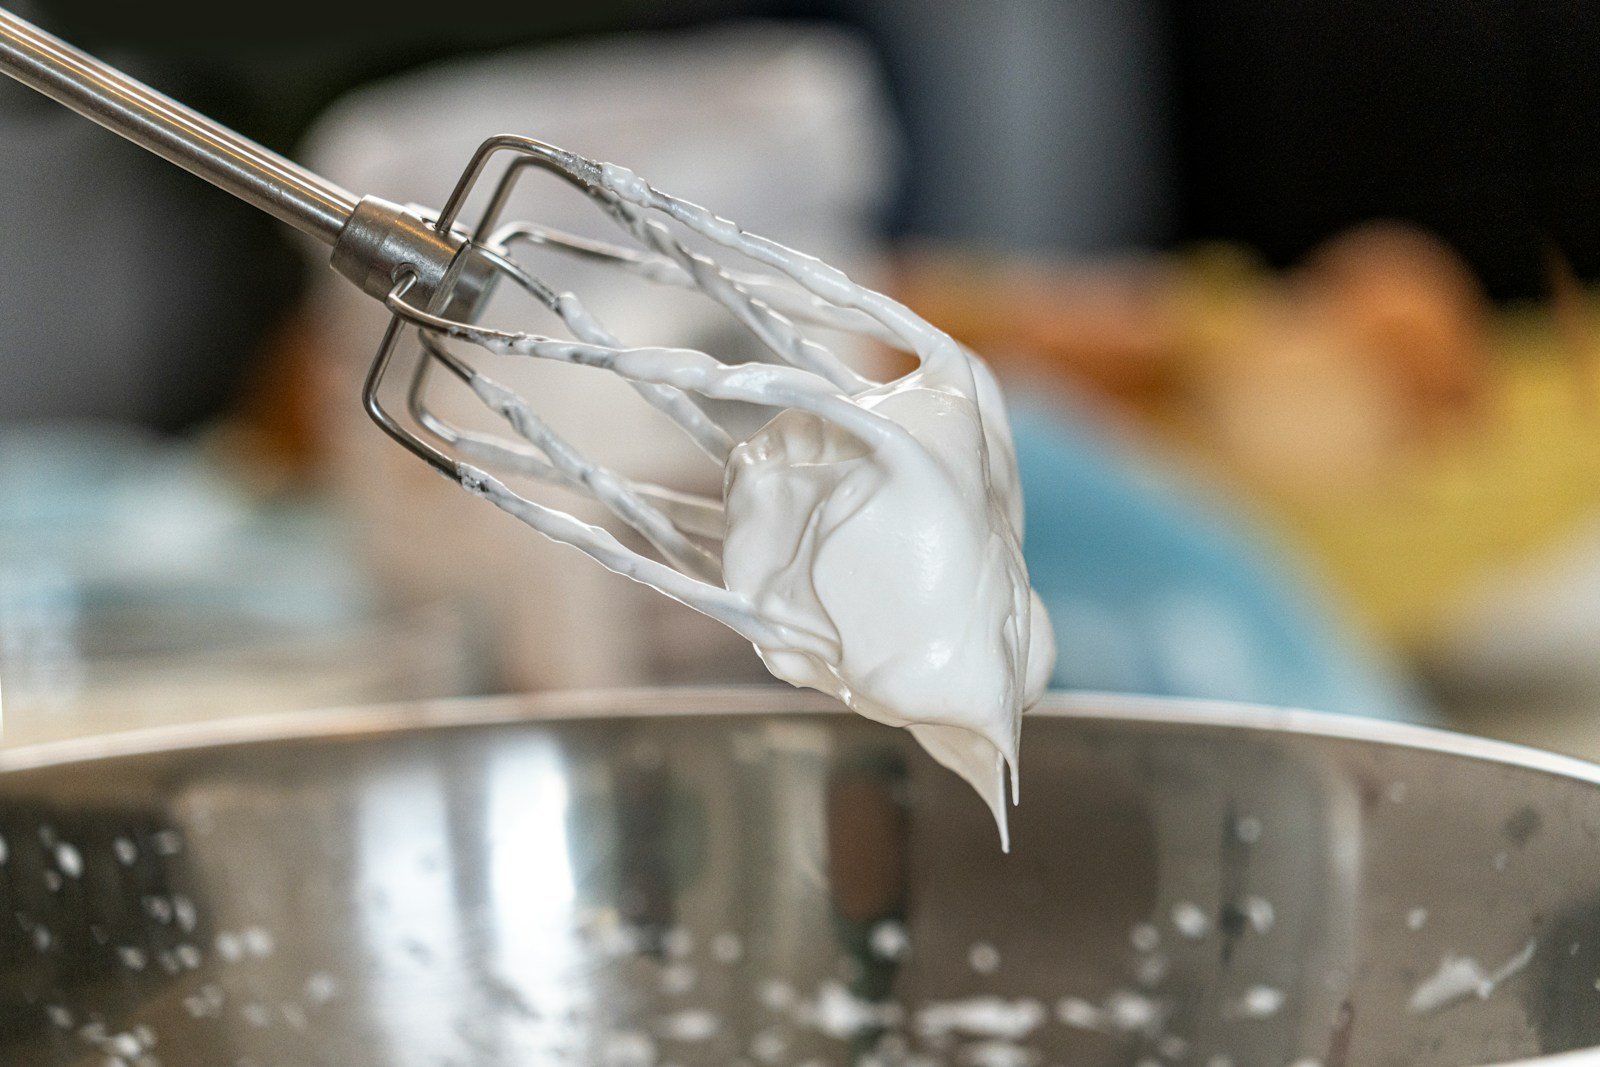
- Pour the cold heavy cream into the chilled bowl. Use a hand mixer or stand mixer on medium-high speed to whip the liquid. If you do not have a mixer, a regular whisk works, though it requires more physical effort. Stop once the cream forms stiff peaks, meaning it stands up when you lift the beaters. You must avoid overwhipping, as the mixture will quickly turn into butter.
- Sweeten and flavor the base
- In a separate bowl, whisk the sweetened condensed milk and vanilla extract until smooth.
- Fold everything together
- Gently fold a small portion of the whipped cream into the condensed milk mixture using a spatula.
- Once it loosens, fold this mixture back into the rest of the whipped cream, still gently, to keep as much air as possible.
- The final mixture should look thick, fluffy, and uniform, without streaks.
- Add mix-ins (optional but fun)
- At this stage, any extras can be folded in: crushed cookies, chocolate chips, small fruit pieces, peanut butter swirls, nuts, or caramel ribbons.
- t is best to avoid very watery ingredients, which can form ice chunks.
- Freeze until firm
- Transfer the mixture to a loaf pan or freezer-safe container. Smooth the top and cover it tightly with plastic wrap or a lid.
- You should freeze the container for at least four to six hours until the base is firm enough to scoop. If you prefer a softer texture, let the ice cream sit at room temperature for a few minutes before serving with a sturdy ice cream scoop (paid link).
Easy Flavor Ideas
Once the base recipe is understood, new flavors are simple to create by changing just one or two elements:
- Cookies & cream: fold in crushed chocolate sandwich cookies.
- Strawberry: swirl in strawberry jam and small chopped strawberries.
- Chocolate chip: stir in mini chocolate chips and a spoon of cocoa powder into part of the base.
- Mint chocolate: add mint extract instead of some vanilla and mix in chocolate chunks.
Because the structure of the ice cream comes from the whipped cream and condensed milk, the flavor options are almost endless.
Love Making Homemade Ice Cream?
The three-ingredient method above is perfect when you want homemade ice cream without special equipment. But if frozen desserts become a regular thing in your kitchen, the Ninja CREAMi NC301 is a useful upgrade for experimenting with ice cream, gelato, sorbet, milkshakes, smoothie bowls, and more.
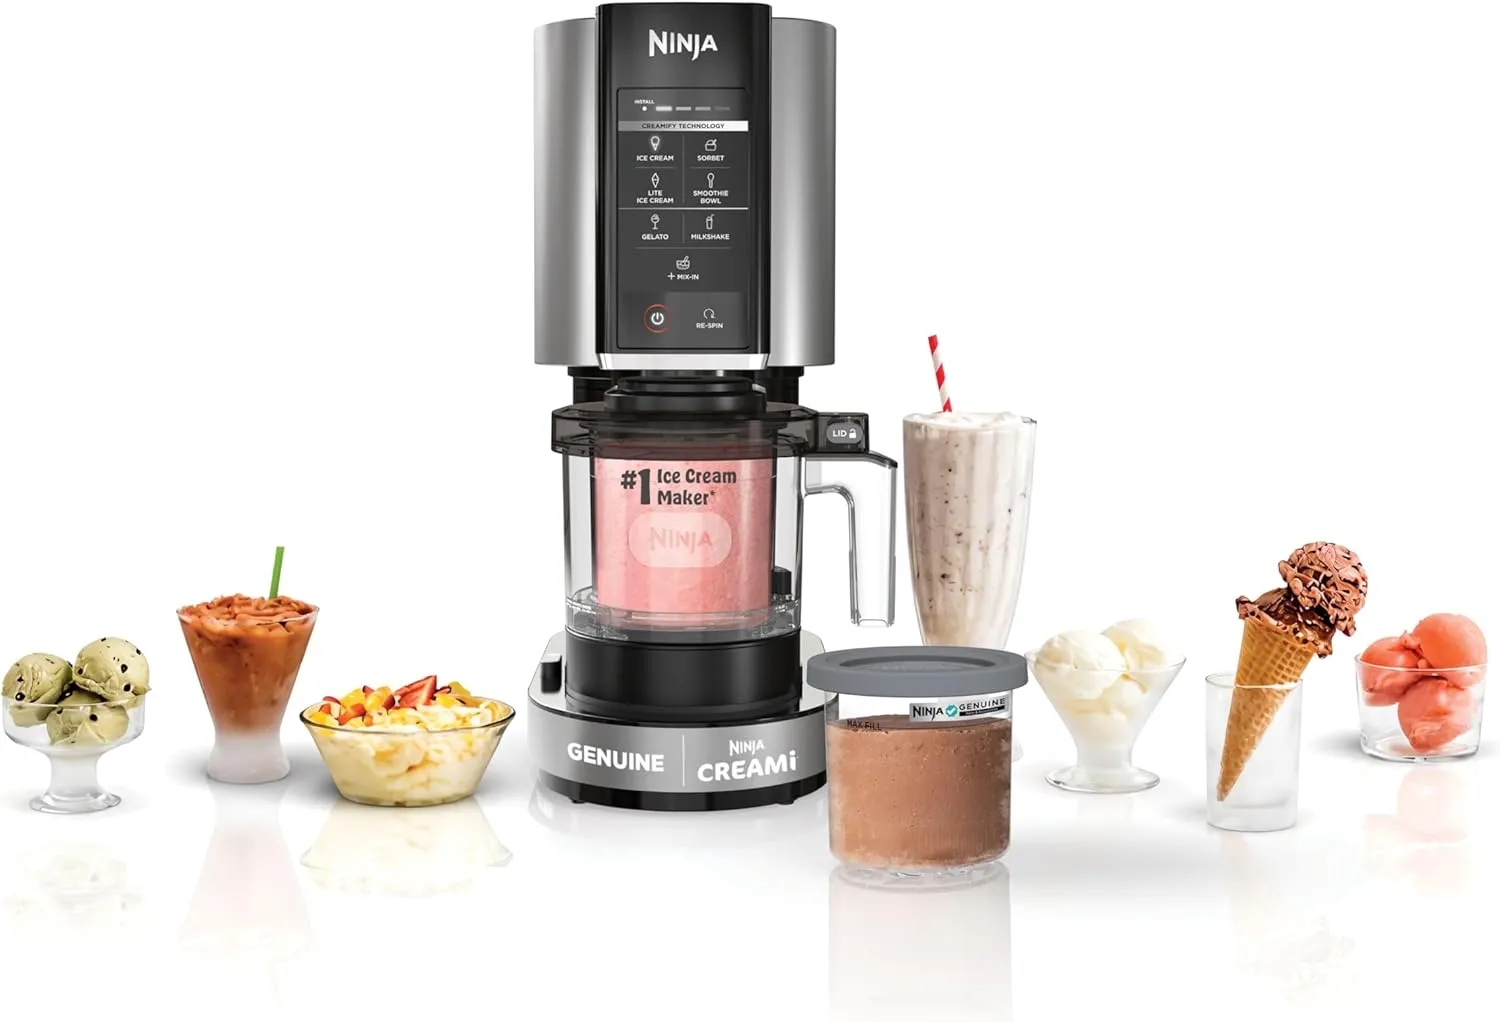
Ninja CREAMi NC301
Make creamy ice cream, sorbet, milkshakes, and more whenever a new frozen-dessert idea hits.
- 7 PROGRAMS
- 16-OZ PINT
- RE-SPIN MODE